
Last updated September 23, 2026
Free visual inspection and a written scope of work before any mitigation begins - photos, moisture readings, and drying logs go in your claim file
The scope we write is the scope we bill. Anything new gets shown to you, in writing, before we touch it.
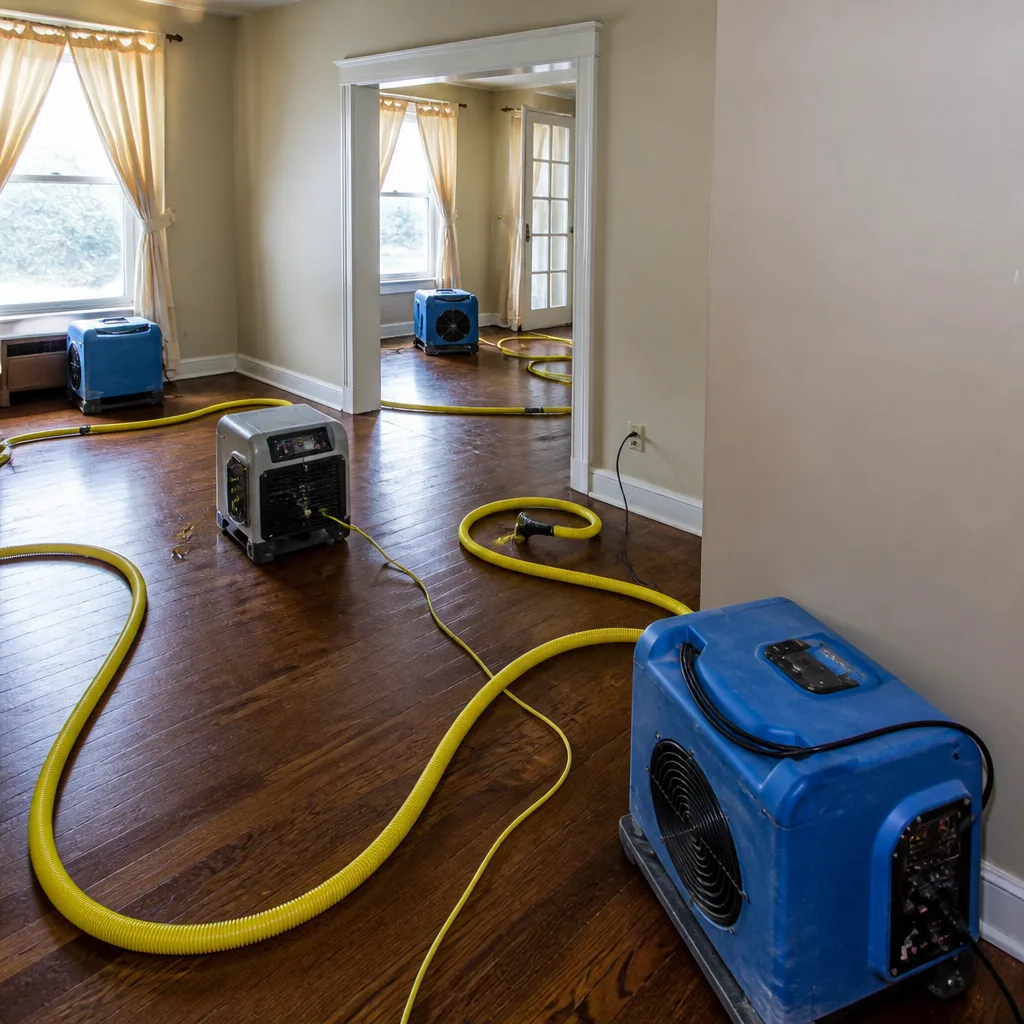
Storm response
 Before
 After
After Before
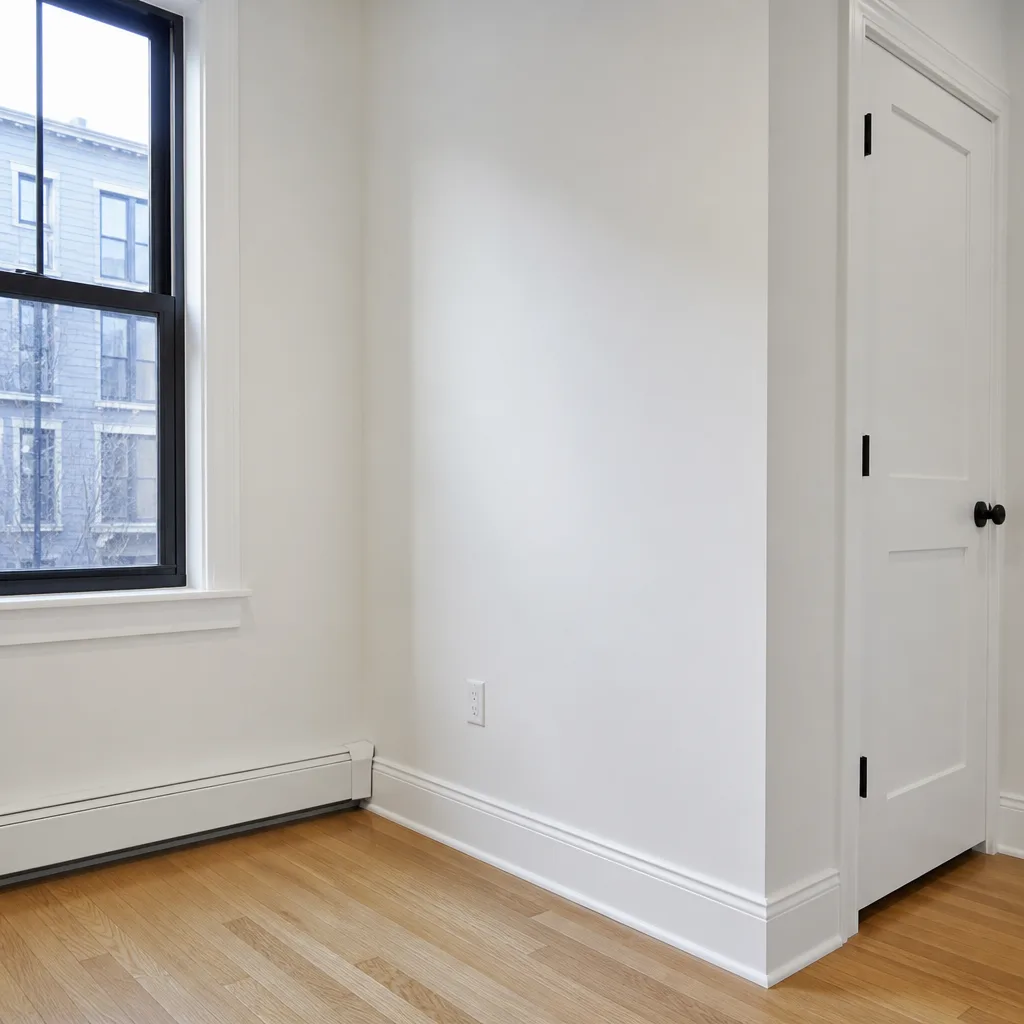 After
After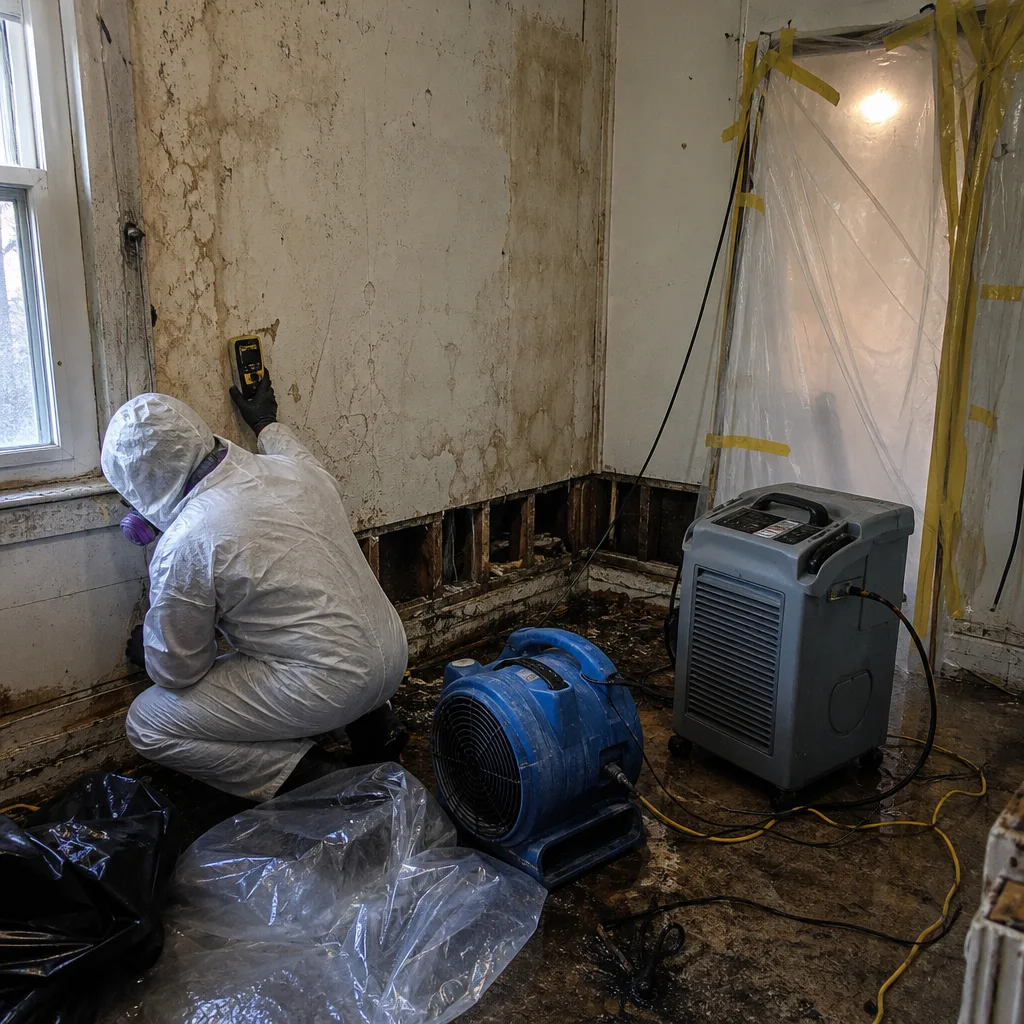 Before
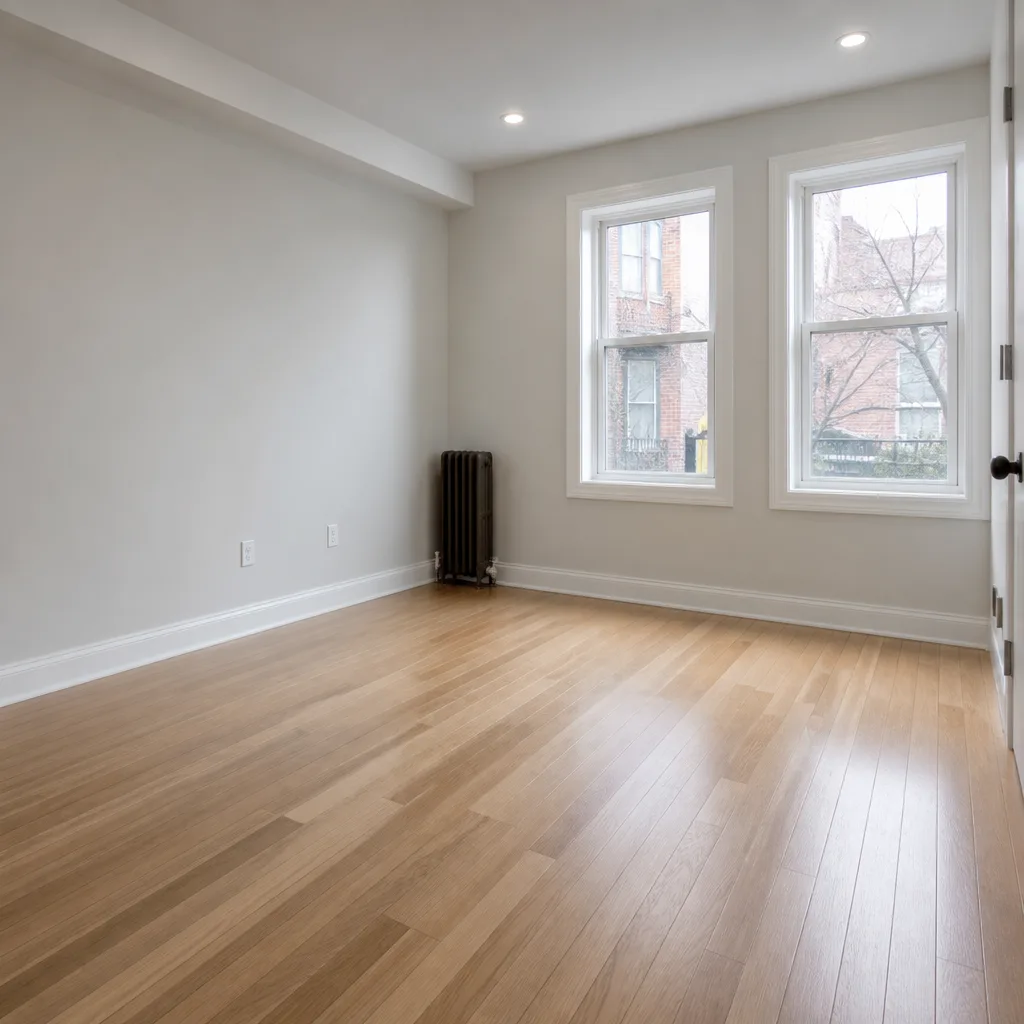 After
AfterWater Damage Restoration Maintenance Checklist for Astoria Homeowners
Here’s a number that should change how you spend next Saturday: fewer than one in ten Astoria homeowners has a single dated photograph of their mechanical room, their basement walls, or the underside of their kitchen sink cabinet. Yet when a sump pump fails on a night of combined sewer overflow, or a cast-iron lateral line cracks beneath a 1920s foundation, the homeowner who can hand an adjuster a photo of dry, intact drywall from six months prior settles their claim in weeks, not months. The homeowner with verbal assurances and no proof spends those same months arguing over pre-loss condition while secondary damage compounds. This guide is not about preventing every flood - tidal backflow and aging infrastructure make some water intrusion statistically inevitable in western Queens. If damage does occur, our Water Damage Restoration services can help. It’s about building the documentation baseline that makes your future claim defensible from day one, with specific moisture thresholds, photo protocols, and maintenance tasks tied directly to standard ISO homeowners policy language.
Quick Answer
Astoria homeowners should perform water damage prevention maintenance twice yearly, recording baseline moisture readings (relative humidity below 55%, wood moisture content below 12%) and dated photographs of mechanical spaces, foundation walls, and plumbing chases. This documentation creates a pre-loss evidence trail that insurers accept, while identifying early leaks before they require mold remediation. The full checklist covers seven zones, specific tools under $25, and maintenance tasks referenced in standard policy language that, if skipped, can be cited as negligence during a claim.
Table of Contents
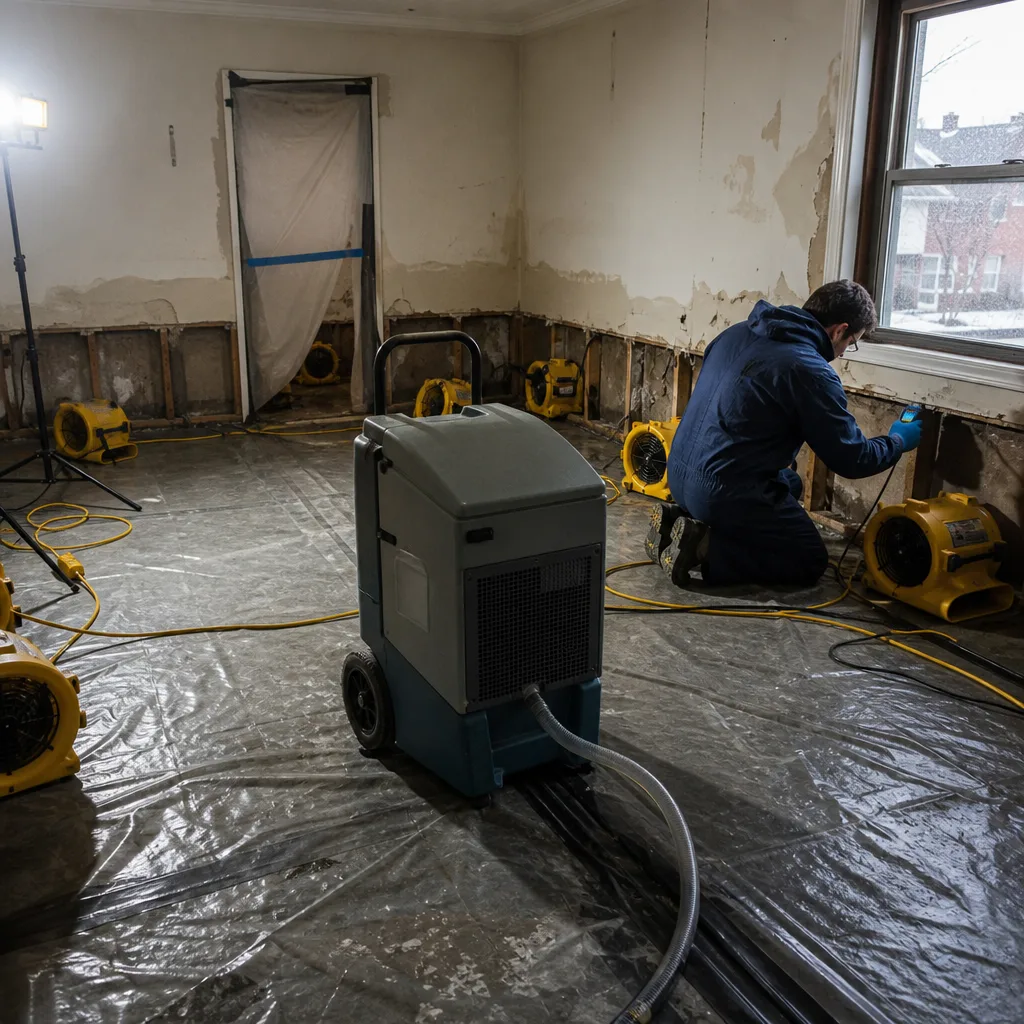
- Why Pre-Loss Documentation Matters in Astoria
- Tools You Need: Under $25 Total
- The Room-by-Room Checklist with Moisture Thresholds
- Astoria-Specific Risks: Combined Sewer Lines and Flood Zones
- How to Build a Dry Baseline Photo Record (Adjuster-Ready)
- Maintenance Tasks Tied to Homeowners Policy Language
- Reading Your Moisture Meter: What the Numbers Mean
- Common Mistakes to Avoid
- When to Call a Professional
- Frequently Asked Questions
BeforeAfterWhy Pre-Loss Documentation Matters in Astoria
We’ve restored over 12,000 homes since 2011, and the pattern is consistent: the claims that drag on are rarely the ones with the most damage. They’re the ones where nobody can prove what existed before the water arrived. An adjuster’s job is to pay for the loss that occurred on the date of the event, not the deterioration that happened over fifteen years. Without documentation, every stained baseboard becomes a negotiation.
Astoria’s housing stock amplifies this problem. Much of the neighborhood was built between 1900 and 1940, with original cast-iron sewer laterals, balloon-frame construction, and foundation walls that have seen a century of freeze-thaw cycles. The water damage restoration in Astoria we perform most often involves not catastrophic flooding but slow, hidden leaks - a failed wax ring under a toilet, a pinhole in a galvanized supply line, a cracked lateral seeping for weeks before anyone notices. By the time the homeowner sees staining, the structural members behind the drywall have often exceeded 20% moisture content, the threshold where wood-decay fungi establish.
Pre-loss documentation solves two problems simultaneously. First, it gives you early warning: a $15 pin-type moisture meter reading 16% on a basement sill plate, when your baseline six months ago was 9%, tells you something changed before you can see it. Second, it creates the evidence trail that makes your insurer’s job straightforward. A dated photo of dry, painted cinder block in your mechanical room, with a moisture meter showing 8% in frame, is evidence an adjuster can file. Your word that “it was fine before” is not.
The Haven Standard, which governs every job we take, was built around this documentation gap. Our founder, a former claims adjuster, watched homeowners lose legitimate coverage because they couldn’t produce a single photograph of pre-loss condition. The protocols below apply that same rigor to your maintenance routine.
Tools You Need: Under $25 Total
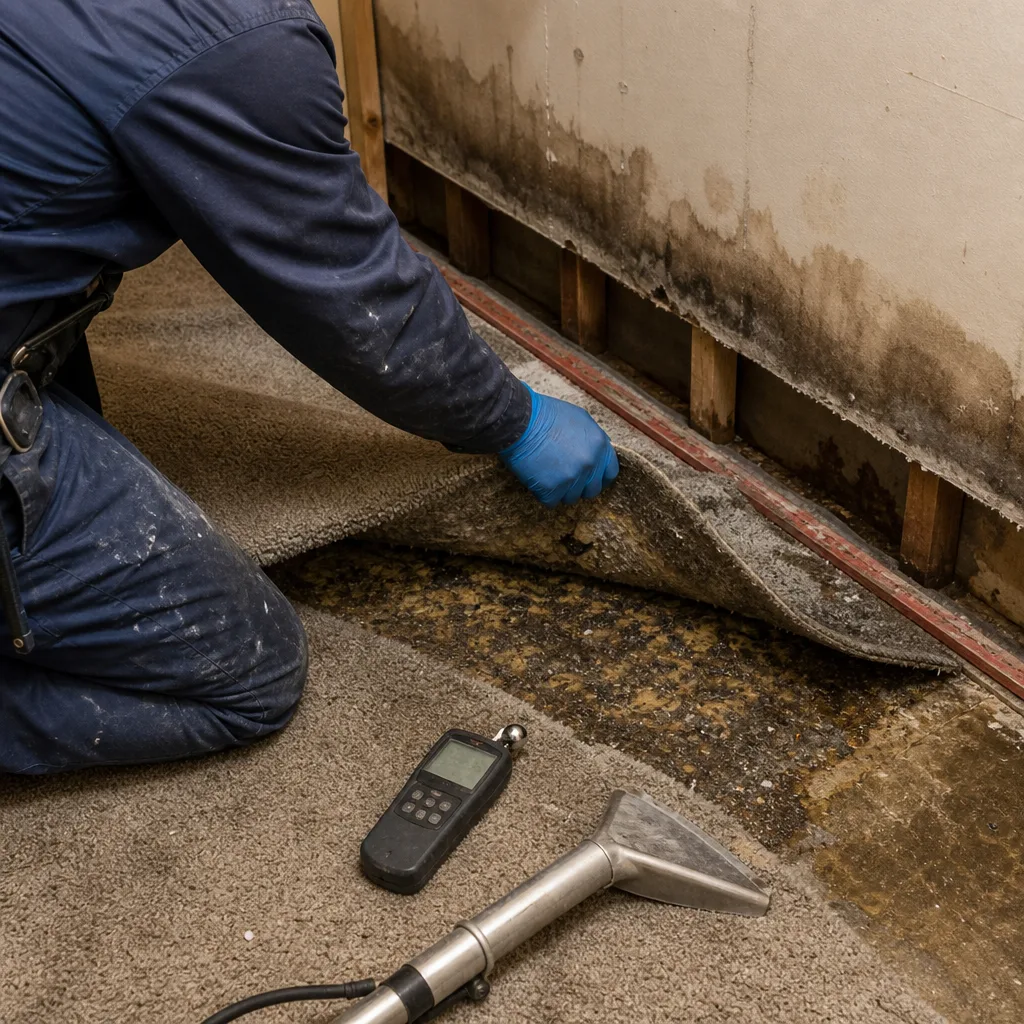
You do not need professional equipment to establish a defensible baseline. You need consistency and a record-keeping habit. Here’s what we recommend:
- Pin-type moisture meter ($12-$18): Detects moisture content in wood, drywall, and masonry. Look for one with a digital display and two metal pins that penetrate the surface. Brands like General Tools or Calculated Industries are widely available at Astoria hardware stores on 30th Avenue or through online retailers. Avoid pinless meters for this purpose; they scan surface moisture only and miss the readings behind baseboards that matter most.
- Digital hygrometer ($8-$15): Measures relative humidity (RH) and temperature. Place one in your basement or lowest mechanical space, another on your main living floor. RH above 60% for sustained periods indicates conditions where mold can colonize on organic surfaces.
- Smartphone with date-stamp enabled: Every photo must embed or display the date. iPhones do this automatically; on Android, enable timestamp in camera settings or use a camera app that includes it. The date must be visible in the image, not just in file metadata, because adjusters receive printed files where metadata strips.
- Notebook or cloud spreadsheet: Record readings by location, date, and specific material tested. “Basement north sill plate, 9% MC, 3/15/2025” is useful. “Basement looks good, spring 2025” is not.
Total investment: under $25 if you already own a smartphone. The return is a claim that processes without dispute over pre-loss condition, and early detection of leaks that would otherwise become mold remediation in Astoria projects costing thousands.
The Room-by-Room Checklist with Moisture Thresholds
Perform this inspection every April and October, when seasonal moisture transitions are most pronounced in the New York climate. Record all readings in your notebook or spreadsheet. Photograph each location with the meter in frame showing the reading.
1. Basement or Lowest Mechanical Space
Target readings: Relative humidity below 55%; concrete moisture below 4% (measured with calcium chloride test or pin meter on exposed surface); wood sill plates and rim joists below 12% moisture content (MC).
- Place hygrometer centrally, away from walls, and record RH after 24 hours of placement.
- Test sill plate at multiple points along the perimeter, especially where foundation meets framing. Astoria’s century-old foundations often have settled, creating gaps where groundwater wicks upward.
- Inspect floor drains for standing water or slow drainage. Note any mineral staining (white efflorescence) on block walls, indicating chronic moisture migration.
- Photograph: wide shot of mechanical space; close-up of each meter reading on sill plate; floor drain condition; any efflorescence.
- Check sump pump operation by lifting the float manually. If you don’t have a sump pump and your basement has ever taken water, this is a gap in your mitigation, not just your maintenance.
2. Kitchen
Target readings: Cabinet base panels below 12% MC; wall drywall below 1% above baseline (use your established dry reading as reference).
- Remove items from under-sink cabinet. Test the cabinet base panel with pin meter where it meets the wall.
- Run water in sink for two minutes, then check cabinet floor for drips from drain trap or supply line connections.
- Inspect dishwasher supply line and drain hose for kinking, corrosion, or evidence of past leaks (staining, swollen particle board).
- Test refrigerator icemaker supply line connection. Braided stainless lines fail less often than copper, but both can leak at compression fittings.
- Photograph: under-sink cabinet interior with meter reading; dishwasher and refrigerator connections; any staining or swelling.
3. Bathrooms
Target readings: Subfloor around toilet below 12% MC; tub/shower surround grout intact with no hollow tiles.
- Test subfloor through access panel, or if none exists, test baseboard adjacent to toilet. A failed wax ring leaks silently for months before ceiling staining appears below.
- Inspect caulk at tub/shower junction and around fixture escutcheons. Gaps allow water behind walls where it cannot evaporate.
- Check tile grout for cracking or missing sections. Tap tiles lightly; a hollow sound indicates debonded tile and likely moisture in the wall cavity.
- Test exhaust fan airflow with tissue paper; it should hold against the grille when fan operates. Astoria’s humid summers make mechanical exhaust essential, not optional.
- Photograph: toilet base and adjacent baseboard meter reading; tub caulk condition; exhaust fan grille.
4. Laundry Area
Target readings: Floor near washer below 12% MC; no standing water in drain pan (if present).
- Inspect washing machine supply hoses. Rubber hoses should be replaced every five years regardless of appearance; braided stainless lasts longer but still requires inspection of end fittings.
- Check drain hose for secure connection and absence of cracks.
- Test floor drain flow rate with a gallon of water poured rapidly.
- Photograph: hose connections; floor drain; meter reading on floor.
5. Water Heater and Mechanical Closet
Target readings: Floor below 12% MC; no corrosion on T&P valve discharge pipe.
- Inspect tank base for rust, moisture, or mineral deposits. A failing water heater often leaks slowly from the base before catastrophic failure.
- Test temperature and pressure relief valve by lifting the lever briefly. Water should discharge freely through the pipe to floor or drain, not dribble down tank side.
- Inspect expansion tank (if present) for waterlogging. Tap it: the lower half should sound dull (water), upper half hollow (air). If entirely dull, the diaphragm has failed.
- Photograph: tank base; T&P valve; expansion tank; meter reading on floor.
6. Exterior and Foundation
Target readings: Soil grade slopes away from foundation at minimum 6 inches over 10 feet; no ponding within 10 feet of structure after rain.
- Walk perimeter during or immediately after rain. Note any ponding, especially near downspout terminations.
- Verify downspouts discharge at least 6 feet from foundation or into functional drainage. In Astoria’s dense lots, this often requires extensions that homeowners remove for mowing and forget to replace.
- Inspect foundation wall exterior for cracks wider than 1/8 inch, especially at window wells and where additions meet original structure.
- Check window well drains for debris. A clogged drain turns a window well into a reservoir during heavy rain.
- Photograph: each downspout termination; any foundation cracks; window well condition.
7. Attic or Top Floor
Target readings: Sheathing below 15% MC; no daylight visible through roof penetrations.
- Test roof sheathing at multiple points with pin meter set to wood scale. Astoria’s rowhouse and multi-family stock often has limited attic access, but any accessible sheathing should be tested.
- Inspect around chimney, vent stacks, and any skylight curbs for water staining or compressed insulation.
- Verify bathroom and kitchen exhaust ducts terminate at exterior, not into attic space. Ducts terminating in attics deposit moisture directly onto sheathing.
- Photograph: sheathing meter readings; any staining; duct terminations.
Astoria-Specific Risks: Combined Sewer Lines and Flood Zones
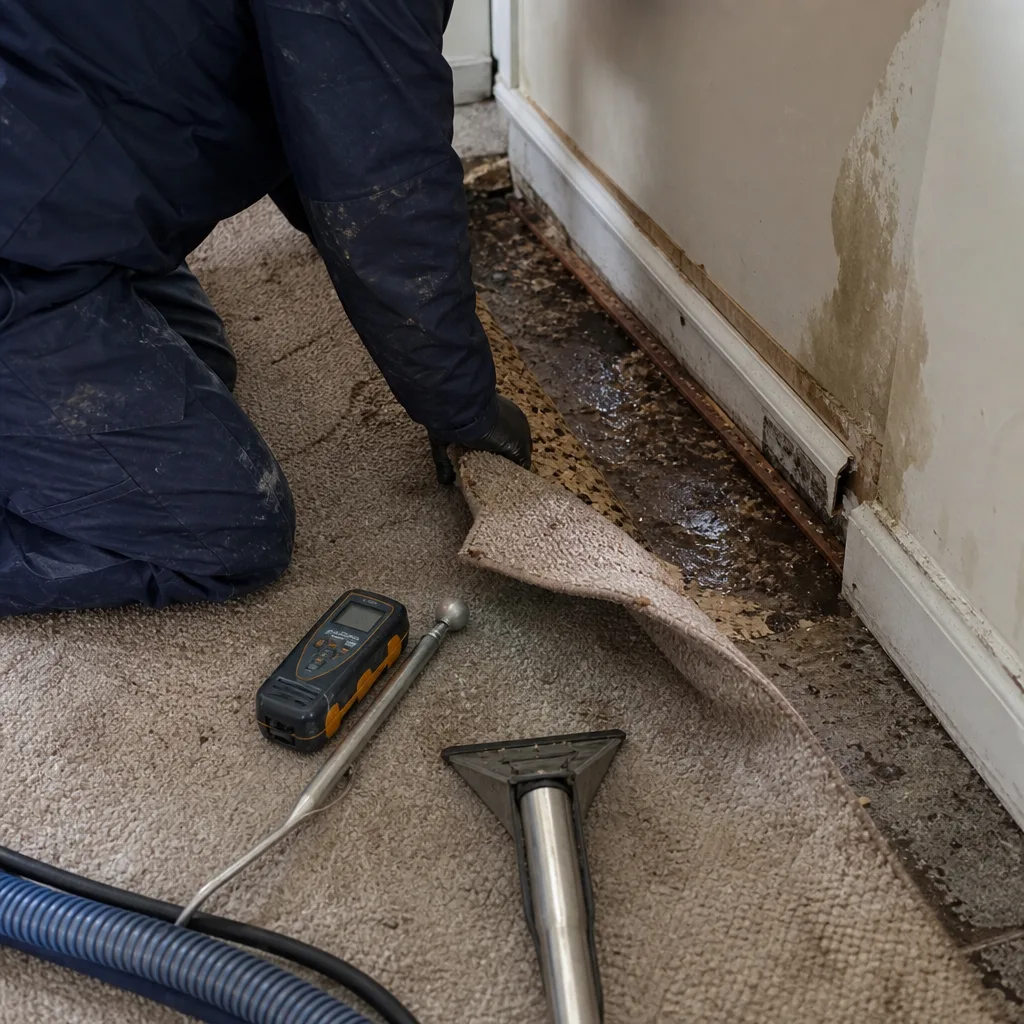
Generic water damage checklists miss the infrastructure that defines Astoria’s risk profile. For a deeper dive, see The Complete Guide to Damage Restoration in Astoria. Understanding these three factors changes what you prioritize in your maintenance routine.
Combined sewer overflow frequency on the 31st Street corridor. Much of Astoria drains to combined sewers that handle both sanitary waste and stormwater. During intense rainfall, system capacity is exceeded, and sewage backs up through floor drains and lowest fixtures. The 31st Street corridor, from Newtown Creek south toward Long Island City, experiences this more frequently than areas east of Steinway Street with newer separated systems. If your property is on this corridor, a backwater valve on your main sewer line is not optional maintenance; it’s structural mitigation. Check valve operation annually by observing the flap through the cleanout, and photograph the open/closed position.
Ground-floor elevation relative to Queens flood zone AE boundaries. FEMA flood zone AE covers portions of western Astoria near the waterfront and extends inland along historic creek beds that were filled but remain lower than surrounding blocks. Properties in this zone with ground floors at or below base flood elevation face higher premiums and, critically, policy language that requires specific mitigation measures as a condition of coverage. Know your BFE (base flood elevation) from FEMA’s Flood Insurance Rate Map, and document your finished floor elevation relative to it. A licensed surveyor can establish this for approximately $300, and it’s evidence your insurer cannot dispute.
Aging cast-iron lateral line failure patterns. Astoria’s sewer laterals, the pipes connecting your building to the municipal main, were predominantly cast iron installed 80 to 120 years ago. Cast iron fails from the inside out: corrosion reduces flow diameter, then spalling creates rough surfaces where grease and debris accumulate, then cracks form at joints under load. The failure is gradual until it’s sudden. A video inspection of your lateral, approximately $250-$400 from a licensed plumber, reveals condition before backup forces the issue. We recommend this every ten years for properties built before 1960, and every five years if you’ve experienced any previous backup.
These three risks share a common feature: they’re insurable events where coverage depends on proof of maintenance. A backwater valve that was never inspected, a lateral that was never scoped, a basement that was finished below BFE without elevation certificate - each becomes a coverage dispute when water arrives.
How to Build a Dry Baseline Photo Record (Adjuster-Ready)
An adjuster’s skepticism is not personal; it’s professional. They see inflated claims daily, and their job performance is measured partly by claim accuracy. Your photo record must anticipate their standard of evidence.
Protocol for each photograph:
- Include a dated newspaper or printed date display in frame, or ensure your camera’s timestamp is visible. Phone screenshots showing date are not acceptable; the date must be in the image itself.
- Include the moisture meter displaying the reading, with the pins visibly in contact with the tested material. A photo of a meter held in air proves nothing.
- Capture wide context (show the room corner, the appliance, the foundation wall) and close detail (the meter display, the specific crack or stain).
- Use consistent angles and lighting for repeat inspections, so change over time is visually obvious.
- Store in cloud backup with automatic date sorting. Printed albums are acceptable secondary copies; digital originals are essential.
What to photograph at minimum:
- Basement: all four walls, floor, mechanical equipment, sump pump, floor drain
- Kitchen: under-sink cabinet interior, dishwasher connection, refrigerator icemaker line
- Bathrooms: toilet base and adjacent floor, tub/shower surround, exhaust fan
- Laundry: washer connections, floor drain, water heater
- Exterior: foundation walls, downspout terminations, window wells, grade slope
- Attic: sheathing, insulation condition, duct terminations, any penetrations
Label each image file: “2025-04-15_Basement_NorthWall_MC8pct.jpg” not “IMG_4739.jpg.” Organized files demonstrate systematic maintenance, not last-minute claim preparation.
At DryMark Restoration Astoria home, we provide a documented photo record on every visit as a standard deliverable, never an upsell. The protocol above applies that same standard to your preventive maintenance.
Maintenance Tasks Tied to Homeowners Policy Language
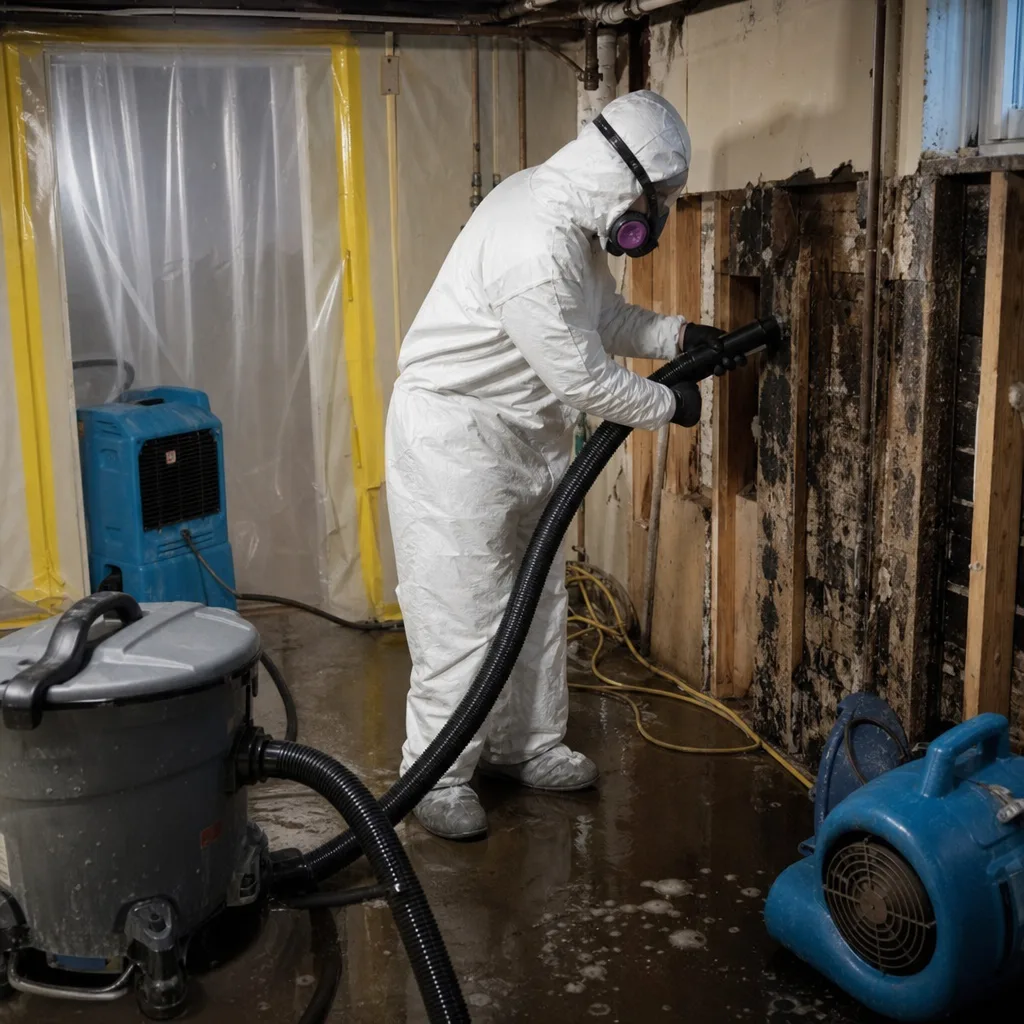
Standard ISO homeowners policies contain specific maintenance obligations that, if unmet, become grounds for denial. These are not obscure clauses; they’re the foundation of coverage disputes. Performing and documenting these tasks protects your claim before loss occurs.
“Reasonable care” and “maintenance” clauses. Virtually all policies require the insured to use reasonable care to protect property and maintain systems in working order. What “reasonable” means is interpreted after loss, often not in your favor. Documented biannual inspection of plumbing, roofing, and drainage systems establishes a pattern of reasonable care that adjusters recognize and courts accept.
Water damage exclusion for “continuous or repeated seepage.” This exclusion denies coverage for damage that occurred over 14 days or more before discovery. The leak behind your bathroom wall that ran for three weeks before ceiling staining appeared? Excluded, unless you can prove it began within the coverage window. Regular moisture meter readings that spike between inspections can establish when the leak began, potentially preserving coverage.
Sewer backup coverage endorsement conditions. Backup coverage, when purchased as an endorsement, often requires functional backwater valves, sump pumps, or other mitigation. A valve that was installed but never maintained, a sump pump that was disconnected, a battery backup that was allowed to fail - each becomes a coverage gap.
Flood policy elevation certificate requirements. Properties in flood zone AE with mortgages from federally regulated lenders must carry flood insurance. The policy premium and coverage terms depend on elevation relative to BFE. Without a current elevation certificate, you pay the highest rate and face the narrowest coverage. The certificate is valid indefinitely unless structural changes alter elevation, but FEMA’s map revisions may change your zone designation.
Specific tasks with policy relevance:
- Test and photograph sump pump operation annually. A failed pump during a storm is a maintenance failure, not a sudden event.
- Clean gutters and downspouts twice yearly, photograph clear flow. Water damage from overflow due to debris accumulation is routinely denied as maintenance-related.
- Inspect and caulk window and door penetrations annually. Leakage at failed sealant is gradual deterioration, not covered peril.
- Service HVAC condensate drains before cooling season. Clogged drains overflow slowly, causing excluded damage.
- Replace washing machine hoses every five years for rubber, inspect braided stainless annually. Hose failure is the most common preventable water loss; insurers increasingly subrogate against manufacturers rather than paying claims where age is a factor.
Reading Your Moisture Meter: What the Numbers Mean
A moisture meter without interpretation is a paperweight. Here’s what the readings indicate, in terms that match what we document on professional jobs using equipment from B-Air, Phoenix, and Injectidry drying systems.
Relative humidity (RH): The percentage of moisture the air holds relative to its capacity at that temperature. At 70°F, RH above 60% for 48+ hours creates conditions where mold colonizes on organic materials. Below 50% is ideal; 50-55% is acceptable; 55-60% warrants investigation; above 60% requires active dehumidification. RH changes with temperature, so record both values.
Wood moisture content (MC): The percentage of the wood’s weight that is water. In-service wood in heated, conditioned Astoria buildings typically ranges 6-10% in winter, 9-12% in summer. Readings above 15% indicate active wetting; above 20%, wood-decay fungi establish. Your pin meter should be set to “wood” scale for structural lumber, trim, and cabinetry.
Drywall/gypsum: Pin meters on drywall use a reference scale, not true moisture content. Baseline for dry, painted drywall in conditioned space is typically 0.5-1.0. Readings above 2.0 indicate elevated moisture; above 5.0, the gypsum core is wet and the paper facing is at risk of fungal growth. Always compare to your documented baseline from the same location.
Concrete and masonry: Pin meters read poorly on bare concrete due to electrical conductivity of the material itself. For concrete floors and block walls, look for qualitative change (higher reading than baseline at same location) or use a calcium chloride test for quantitative moisture vapor emission rate. Efflorescence - white mineral deposits on block - is definitive evidence of moisture migration even when meter readings seem ambiguous.
When readings change between inspections: A 3-percentage-point increase in wood MC, or doubling of drywall reference scale, warrants investigation even if absolute values seem acceptable. The trend matters more than the single reading. A sill plate that was 8% in October and is 14% in April has a moisture source that wasn’t present six months ago.
Professional drying to IICRC and RIA standards uses these same metrics, tracked daily on psychrometric charts that map temperature, RH, and vapor pressure differential - the force that drives moisture from wet materials into dry air. Your biannual readings are a simplified version of the same discipline.
Common Mistakes to Avoid
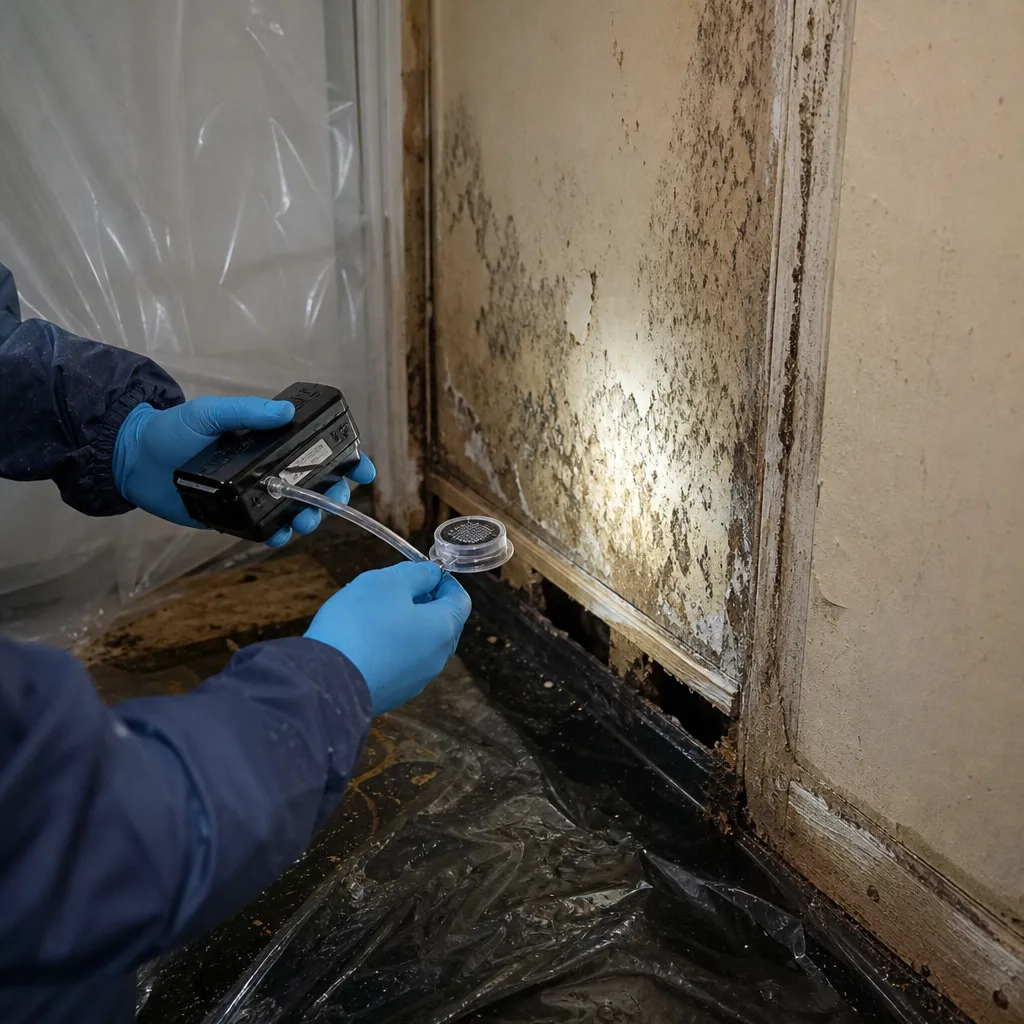
- Storing photos only on your phone. Phones fail, are lost, or replaced without full transfer. Automatic cloud backup is essential; printed copies in a fireproof box are prudent secondary protection.
- Testing only visible surfaces. The most damaging leaks hide behind baseboards, under cabinets, and inside wall cavities. Your meter’s pins should probe at material edges and through small holes in inconspicuous locations, not just touch the surface you can see.
- Ignoring seasonal baselines. A reading that’s normal in April after winter heating may be abnormal in October after humid summer. Compare to same-season prior readings, not absolute thresholds alone.
- Photographing without the meter in frame. An adjuster cannot verify when a photo was taken or what it represents without the measurement device visible and dated. The extra thirty seconds to position the meter properly prevents months of dispute.
- Skipping the backwater valve if you’re on a combined sewer. In Astoria’s 31st Street corridor and similar areas, this is not a maintenance preference; it’s a coverage prerequisite. We’ve seen backup claims denied where valves were present but inoperable due to debris or corrosion.
- Assuming new construction is exempt. Buildings constructed during Astoria’s 2000s boom have their own patterns: flexible PEX supply lines with poorly crimped fittings, window installations without proper sill pan flashing, and flat roofs with inadequate slope to drains. Age is not the only risk factor.
- Waiting for visible damage to document condition. The entire purpose of baseline documentation is to record condition before damage occurs. If your first photos are taken after water appears, you’ve already lost the evidentiary value.
When to Call a Professional
Some conditions exceed homeowner maintenance and require documented professional intervention. Call for assessment when: moisture meter readings exceed 20% on any wood structural member; you discover active water flow you cannot source within 30 minutes; multiple rooms show elevated readings simultaneously, suggesting systemic rather than localized moisture; mold growth is visible on any surface larger than 10 square feet; or your insurer has already indicated coverage concerns and you need independent documentation.
DryMark Restoration Astoria offers free estimates in Astoria - call (862) 281-7710. Every assessment includes a written scope and price before any work begins, per Haven Standard, Clause 1. We also provide free second opinions on any competitor’s written estimate, with no obligation. Our documentation protocols, including daily moisture logs and photo records on every visit, are performed to IICRC, RIA, and IFA standards using professional-grade drying equipment from B-Air, Phoenix, XPOWER, and Injectidry systems.
Frequently Asked Questions
Twice yearly, in April and October, when seasonal moisture transitions are most pronounced. Astoria’s climate shifts from heated, dry winter air to humid summer conditions, and building materials expand, contract, and absorb moisture on different schedules. Biannual inspection captures these transitions and establishes comparable seasonal baselines. Call (862) 281-7710 if your spring or fall inspection reveals readings significantly changed from prior records.
It depends on the policy language and what maintenance was skipped. Standard ISO policies exclude damage from “continuous or repeated seepage” and require “reasonable care” to protect property. Documented maintenance doesn’t guarantee coverage, but it makes denial harder to justify. Conversely, lack of documentation where maintenance was clearly neglected - a sump pump that was never tested, a backwater valve that was never inspected - gives insurers grounds to deny that courts have upheld. The maintenance tasks in this guide are specifically chosen because they’re referenced in standard policy language.
A 3-percentage-point or greater increase in wood moisture content from your documented baseline, or any reading above 15% on structural wood, indicates active wetting that requires source identification. On drywall, a doubling of your baseline reference scale reading, or any reading above 2.0, warrants investigation. These thresholds catch leaks before visible damage appears; by the time you see staining, the materials behind have often been wet for weeks. A $15 pin-type meter used at baseboard edges and under cabinets detects most hidden leaks in their early stage.
Possibly. FEMA flood zone AE extends inland along filled creek beds and low-lying areas well beyond the immediate waterfront. Properties in this zone with mortgages from federally regulated lenders must carry flood insurance. Even outside mandatory zones, Astoria’s combined sewer infrastructure can back up during intense rainfall, and standard homeowners policies exclude flood and sewer backup without specific endorsements. Know your flood zone designation and elevation relative to base flood elevation; a licensed surveyor can establish this for approximately $300.
Properties built before 1960 in Astoria almost certainly have cast-iron laterals. You can verify material through the building sewer cleanout, typically located in the basement floor or just outside the foundation wall. A flashlight inspection shows the pipe interior: cast iron has a rough, often scaly surface with visible corrosion; PVC is smooth and white or cream-colored. If you have cast iron and have never had a video inspection, schedule one every ten years, or every five years if you’ve experienced any backup. The $250-$400 cost prevents the $8,000-$15,000 excavation that follows catastrophic failure.
Phone photos are admissible and often decisive if they meet basic standards: date visible in the image, measurement device in frame, wide context and close detail, and organized file naming that shows systematic maintenance rather than last-minute preparation. Professional documentation from a restoration company adds credibility for complex losses, but your own baseline photos are sufficient for most pre-loss condition disputes. The key is establishing the habit before loss occurs, not scrambling to create evidence after. Explore more guides & resources on our blog to stay prepared. If you’re already in a dispute, DryMark Restoration Astoria provides documented assessments with written scopes that insurers recognize; call (862) 281-7710.
The Bottom Line
Water damage prevention in Astoria is not primarily about stopping floods you cannot control - tidal backflow, combined sewer overflow, century-old pipe failure. It’s about building the documentation that makes controllable outcomes more likely: early leak detection through consistent moisture readings, coverage preservation through maintenance tied to policy language, and claim defensibility through dated, meter-verified photographs of pre-loss condition. The tools cost under $25. The inspection takes a Saturday morning twice yearly. The return is avoiding the documentation gap that costs homeowners their claims, and the secondary damage that turns a $400 plumbing repair into a $12,000 mold remediation project. Start this April. Photograph your mechanical room. Record your baseline. The adjuster you’ll never meet will thank you, and your future self will settle faster.
Written by Alicia Brennan, Owner at DryMark Restoration Astoria, serving Astoria since 2011.